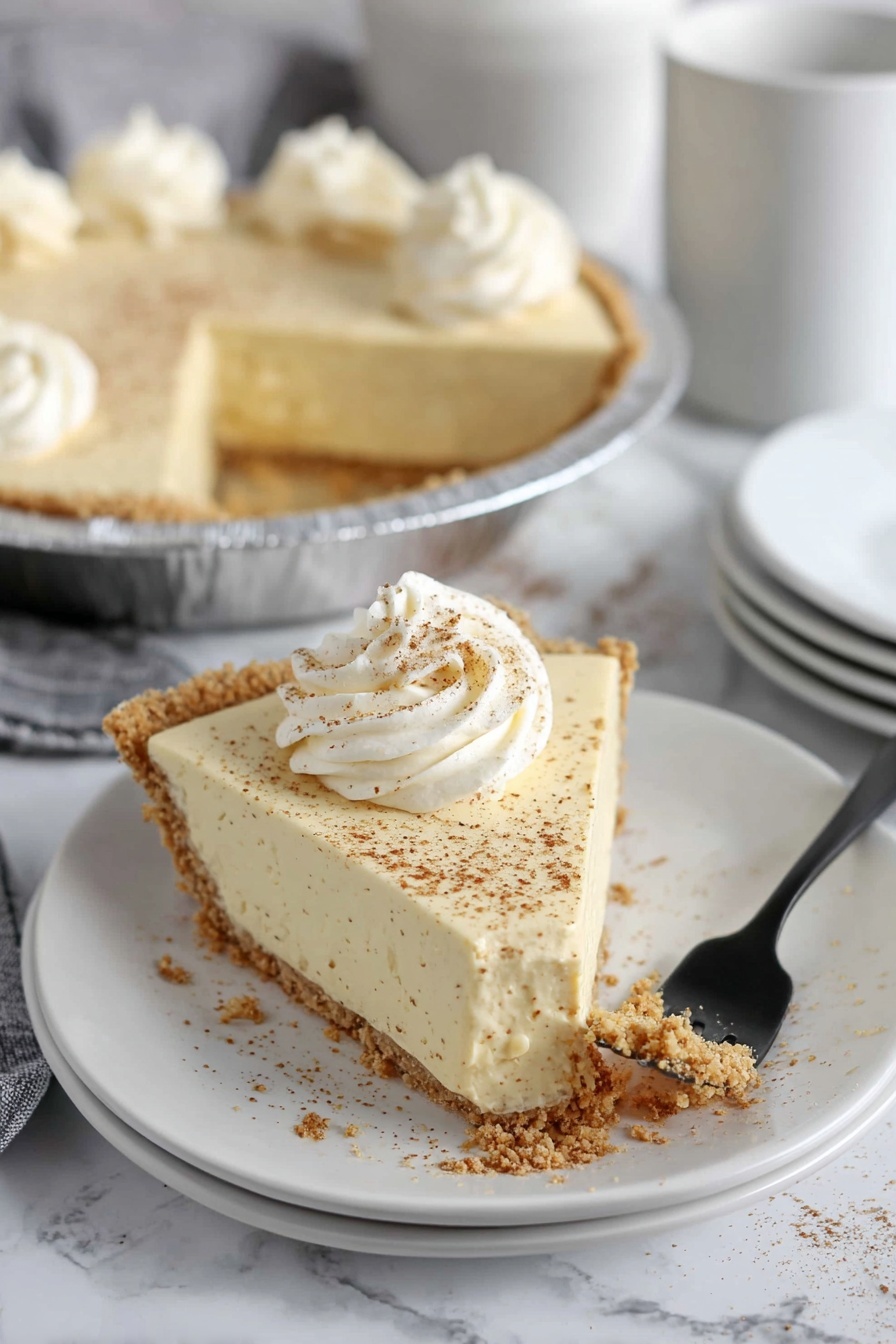
No Bake Eggnog Pie Recipe
If you’re looking for a dessert that’s festive, creamy, and effortlessly delicious, you’re going to love this No Bake Eggnog Pie Recipe. It’s one of those treats that I whip up when I want something special without turning on the oven. The pie is smooth, just right on the sweetness, and packed with that classic cozy eggnog flavor we all adore during the holidays. Keep reading, because I’m sharing all my little tips to help you nail this pie perfectly every time.
Why This Recipe Works
- Effortless No Bake Prep: No oven means this pie is quick and stress-free, perfect for busy days or last-minute guests.
- Classic Eggnog Flavor: Using eggnog as a base gives it that nostalgic, creamy holiday taste everyone loves.
- Silky Smooth Texture: The combination of instant pudding and whipped topping creates a luscious filling that holds firm yet melts in your mouth.
- Simple Ingredients: You likely already have most of what you need, making this a convenient go-to dessert.

Ingredients & Why They Work
The beauty of this No Bake Eggnog Pie Recipe is how these few simple ingredients come together for maximum flavor and texture. Each ingredient plays its role, whether it’s building creaminess, adding spice, or creating that perfect crust base.
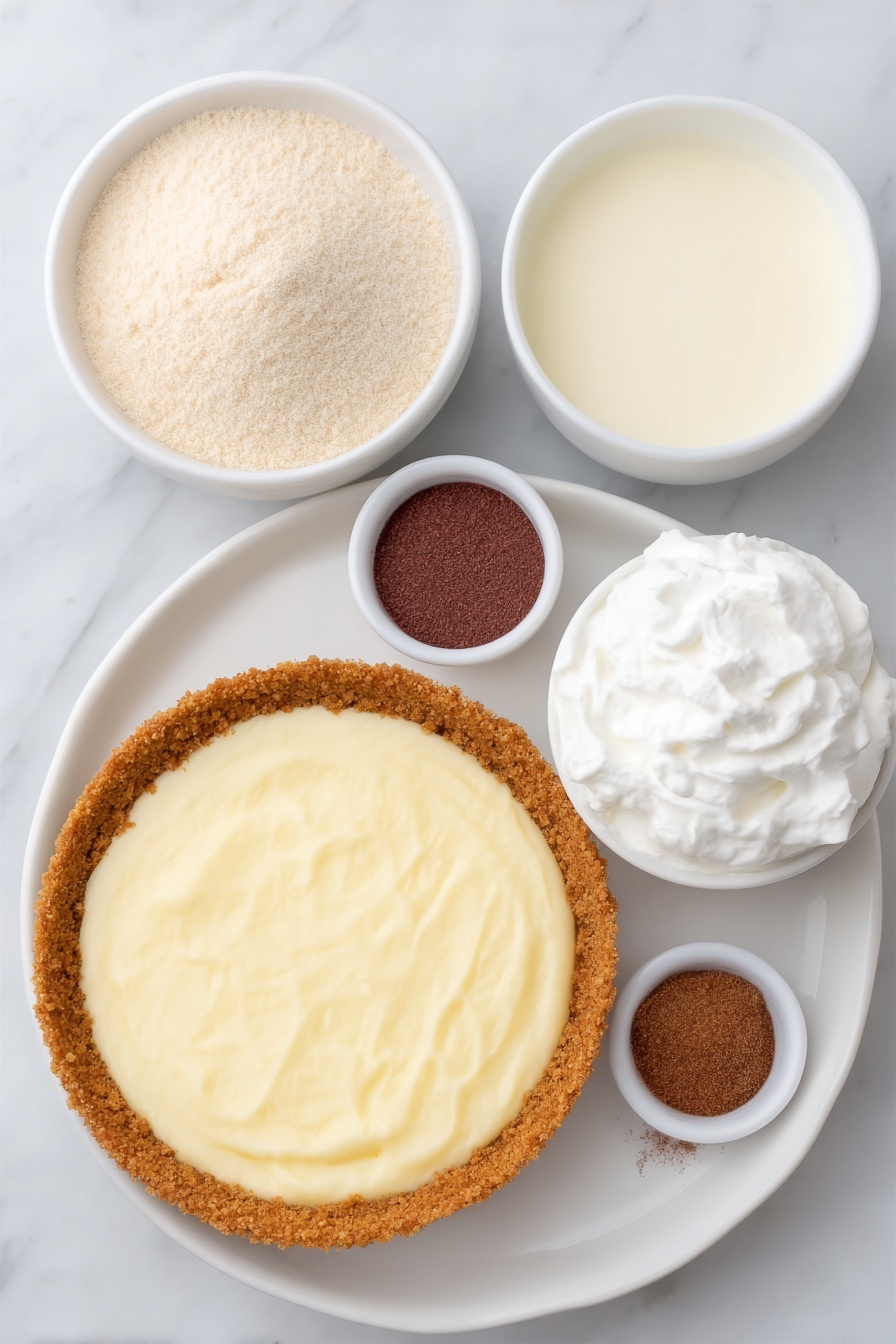
- Graham cracker crust: The buttery, slightly crunchy crust adds the perfect contrast to the smooth filling; you can buy a pre-made crust or make your own if you prefer.
- Vanilla instant pudding mix: This thickens the filling and adds a rich vanilla backbone that complements the eggnog beautifully.
- Eggnog: The star of the show—choose a good-quality eggnog for the best flavor; the alcohol content, if any, adds warmth but you can use alcohol-free versions too.
- Cool whip or whipped cream: Folded in to lighten the texture, giving the pie a fluffy, dreamy lift.
- Ground nutmeg: Sprinkled inside and on top, nutmeg brings a warm, festive spice that finishes the pie perfectly.
Tweak to Your Taste
One of the best parts about this No Bake Eggnog Pie Recipe is how flexible it is! I love making it as is for the classic take, but you can easily adjust it to suit what you like or have on hand.
- Spiked Variation: For a grown-up twist, mix in a tablespoon of bourbon or rum to the filling—just like my cousin does every holiday season, and it’s always a hit.
- Dairy-Free Swap: Use dairy-free pudding mix and coconut whipped cream to make this pie vegan-friendly without losing that creamy texture.
- Extra Spice: Add a pinch of cinnamon or a sprinkle of cloves along with nutmeg for a deeper holiday spice profile that I sometimes whip up for my family.
Step-by-Step: How I Make No Bake Eggnog Pie Recipe
Step 1: Mix the Pudding and Eggnog
Start by pouring your eggnog and vanilla instant pudding mix into a medium bowl. I like to use a hand mixer here—it’s faster and really helps create a smooth, lump-free base. Beat everything for about 2 minutes until the mixture thickens slightly and feels silky. This step is crucial because it sets the foundation for your filling, so don’t rush it. If you don’t have a hand mixer, a whisk will work; just be prepared to put in a little elbow grease.
Step 2: Fold in the Cool Whip and Nutmeg
Next, gently fold in the cool whip and half the nutmeg. Folding is key here—go slow and steady to keep the airy texture intact. This step lightens up the pudding mixture and adds that fluffy mouthfeel that makes this pie so indulgent. If you want it extra nutmeggy, feel free to add a pinch more, but I find this balance hits the spot every time.
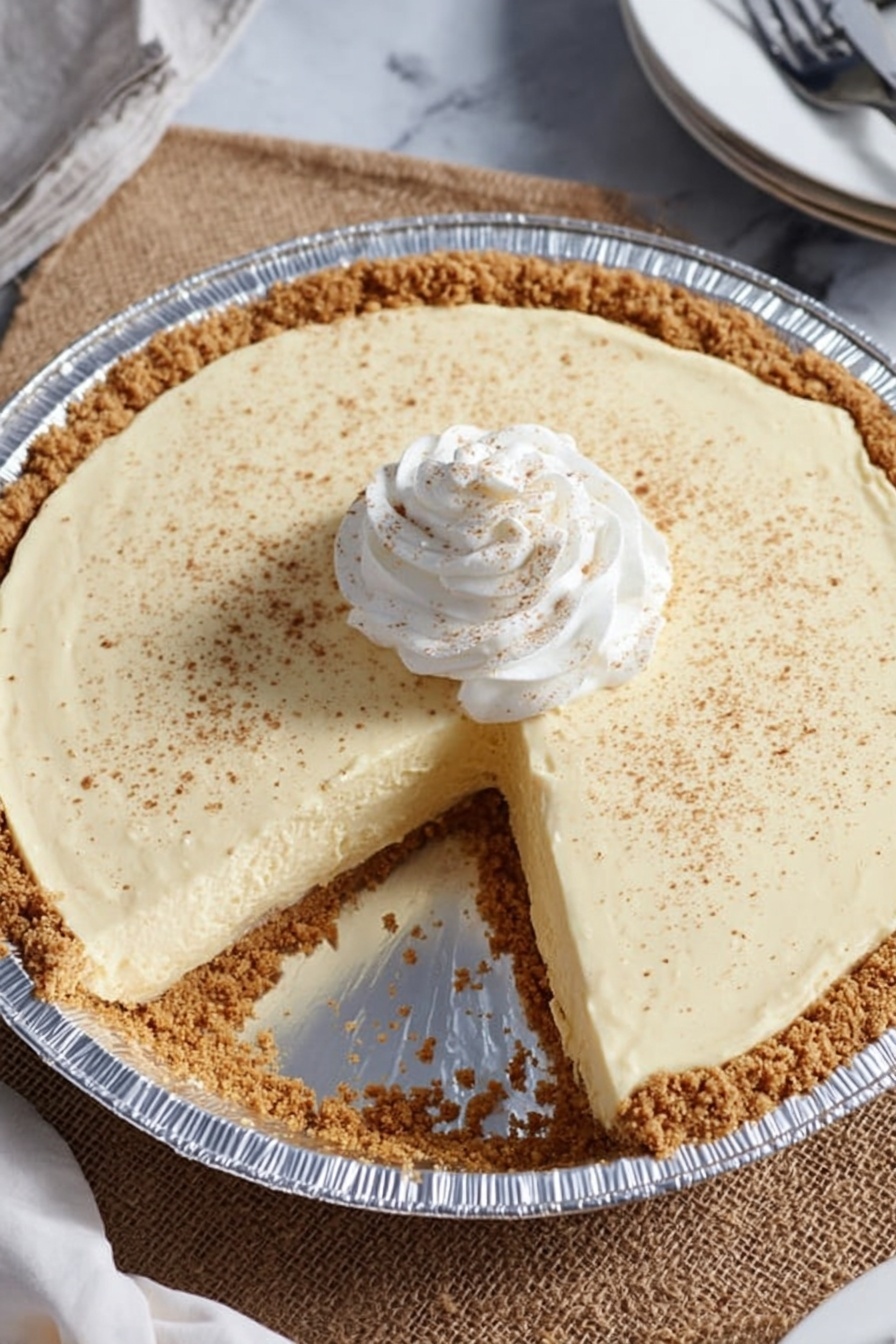
Step 3: Pour Into the Crust and Chill
Pour your filling into the graham cracker crust and use a spatula to smooth the surface evenly. Sprinkle the remaining nutmeg on top for a delightful aroma and pretty finish. Then, pop the pie in your fridge and let it firm up—ideally at least 5 hours, but overnight is best if you can plan ahead. I’ve learned patience here really pays off with texture and flavor.
Pro Tips for Making No Bake Eggnog Pie Recipe
- Use Quality Eggnog: I’ve found the richness of the eggnog makes or breaks the flavor, so choose a brand you love or make your own if you have time.
- Gentle Folding: When folding in the cool whip, be gentle to keep that light texture—don’t overmix or it may deflate.
- Chill Thoroughly: Resist the urge to slice too soon—the pie sets beautifully after a good chill, giving you perfect slices.
- Avoid Watery Filling: Instant pudding thickens better than cook-and-serve, so don’t swap it out, or your pie might end up runny.
How to Serve No Bake Eggnog Pie Recipe
Garnishes
I usually keep it simple with a dusting of extra nutmeg and sometimes a sprinkle of cinnamon sugar on top. One year, I even added toasted pecans on top for a bit of crunch, and it was fantastic. Fresh whipped cream dollops make it look extra special and add a creamy touch right before serving.
Side Dishes
This pie pairs wonderfully with light bites like spiced nuts, ginger snaps, or even a small cheese plate to balance its sweetness. I’ve served it alongside peppermint bark during holiday parties — such a festive combo!
Creative Ways to Present
For hosting, I love serving individual eggnog pies in small mason jars. It’s charming, portion-controlled, and makes a great conversation starter. Another favorite trick is swirling a drizzle of caramel sauce on top or adding crushed candy cane for a pop of color and holiday flair.
Make Ahead and Storage
Storing Leftovers
After enjoying your pie, store any leftovers covered tightly in the fridge. I usually place it under a cake dome or wrap the pie plate with plastic wrap. The pie stays fresh and creamy for 3-4 days, so you have plenty of time to savor every slice.
Freezing
I’ve frozen this No Bake Eggnog Pie twice, wrapping it tightly in foil and plastic wrap. When thawing, I refrigerate overnight and it’s almost as good as fresh! Texture softens a bit, but the flavor is still spot-on, making it handy for holiday prep.
Reheating
Since it’s a cold pie, I don’t reheat it. Instead, I let it come to a cool room temperature for 10 minutes after taking it out of the fridge, which helps bring out the flavors without losing its texture.
FAQs
-
Can I use a homemade crust for this No Bake Eggnog Pie Recipe?
Absolutely! While a store-bought graham cracker crust is convenient, you can make your own by crushing graham crackers and mixing them with melted butter and a bit of sugar. Press it firmly into your pie dish and chill before filling. This adds a wonderful homemade touch.
-
Is it okay to substitute cool whip with fresh whipped cream?
Yes, definitely! Freshly whipped cream makes the filling even richer and creamier, but it might make the pie a touch softer. Just be sure to fold it in gently while it’s still fluffy for best results.
-
How long should I chill the pie before serving?
For the best texture and flavor, chill the pie at least 5 hours, though overnight chilling is ideal. This ensures the filling sets properly and every slice holds together nicely.
-
Can children eat this pie if it contains alcohol in the eggnog?
If your eggnog has alcohol, it’s best to avoid serving it to kids. You can use a non-alcoholic eggnog variety to keep the recipe kid-friendly while preserving the classic flavor.
Final Thoughts
This No Bake Eggnog Pie Recipe has become my secret weapon for holiday desserts that wow with minimal effort. It captures all the cozy, spiced eggnog goodness we crave but without the fuss of baking. I love how it brings people together around the table—my family always asks for seconds! I’m confident once you try it, you’ll be reaching for this recipe year after year. Trust me, friends, this pie is a holiday hug in dessert form.
Print
No Bake Eggnog Pie Recipe
- Prep Time: 10 minutes
- Cook Time: 0 minutes
- Total Time: 5 hours 10 minutes
- Yield: 8 servings
- Category: Dessert
- Method: No-Cook
- Cuisine: American
Description
A creamy and festive No Bake Eggnog Pie featuring a smooth vanilla pudding and eggnog filling in a graham cracker crust, topped with whipped cream and a sprinkle of nutmeg. Perfect for holiday gatherings and easy to prepare without turning on the oven.
Ingredients
Crust
- 1 graham cracker crust
Filling
- 1 box (153g) vanilla instant pudding mix
- 1 1/2 cups eggnog
- 2 cups cool whip or whipped cream
- 1/2 teaspoon ground nutmeg
Instructions
- Mix pudding and eggnog: In a medium bowl, add the eggnog and vanilla instant pudding mix. Use a hand mixer to beat until well combined and smooth in texture.
- Fold in whipped topping: Add the cool whip and 1/4 teaspoon of the ground nutmeg into the pudding mixture. Gently fold together until evenly blended.
- Assemble the pie: Pour the mixture into the prepared graham cracker crust and use a spatula to spread it evenly.
- Add nutmeg topping: Sprinkle the remaining 1/4 teaspoon of ground nutmeg evenly over the top of the pie.
- Chill the pie: Refrigerate the pie until firm, which takes at least 5 hours or overnight for best results.
Notes
- Store leftovers in the refrigerator for up to 3-4 days.
- This pie can be made ahead and frozen for up to 4 months. Thaw in the refrigerator overnight before serving.
Nutrition
- Serving Size: 1 slice
- Calories: 320 kcal
- Sugar: 28 g
- Sodium: 220 mg
- Fat: 18 g
- Saturated Fat: 11 g
- Unsaturated Fat: 6 g
- Trans Fat: 0.5 g
- Carbohydrates: 35 g
- Fiber: 1 g
- Protein: 3 g
- Cholesterol: 40 mg
