Homemade Coconut Cream Pie Recipe
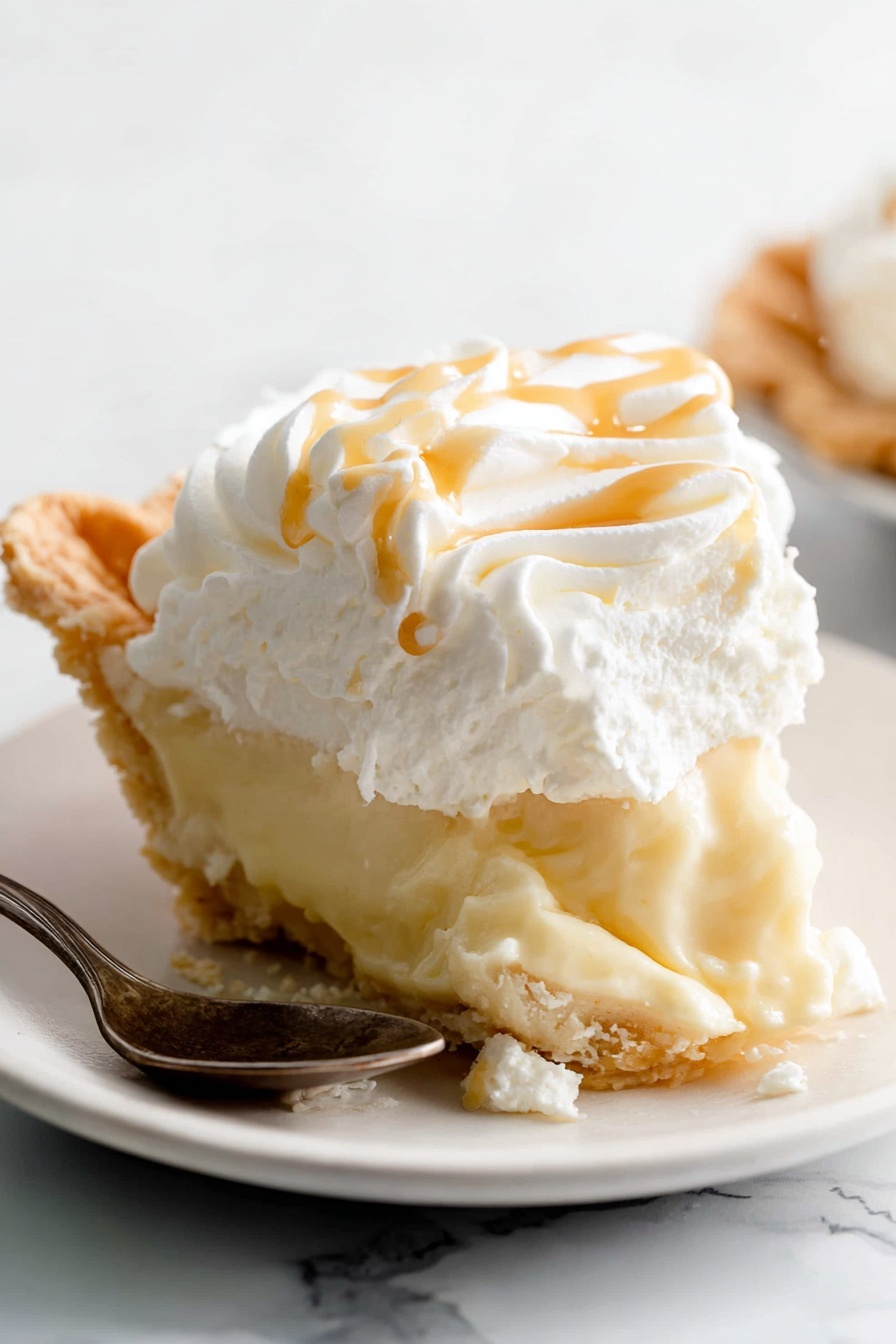
If you’re craving a tropical dessert that feels like a little vacation on a plate, you’re going to love this Homemade Coconut Cream Pie Recipe. It’s got that perfect balance of flaky crust, silky coconut custard, and fluffy whipped cream that just melts in your mouth. I’ve made this pie more times than I can count—each time perfecting the steps so you’ll be able to make it just as amazing in your own kitchen. Stick around because this recipe is fan-freaking-tastic and I’ll share all the tips that make it foolproof!
Why This Recipe Works
- Creamy Coconut Custard: The combination of full-fat coconut milk and half-and-half gives a rich, luscious texture that isn’t too heavy.
- Flaky Pie Crust: Starting with a perfectly blind-baked flaky crust ensures your pie holds its structure without getting soggy.
- Flavor Layers: Adding shredded coconut and optional coconut extract layers in extra coconutty goodness that you can taste in every bite.
- Light & Fluffy Topping: Freshly whipped cream with just a touch of vanilla lightens everything up and makes the pie look as fabulous as it tastes.

Ingredients & Why They Work
This homemade coconut cream pie brings together simple ingredients, but each one is important to creating that rich, classic flavor. When shopping, try to pick the best-quality coconut milk you can find—usually full-fat canned brand from the international aisle—and use fresh eggs because they really make a difference in your custard’s texture.
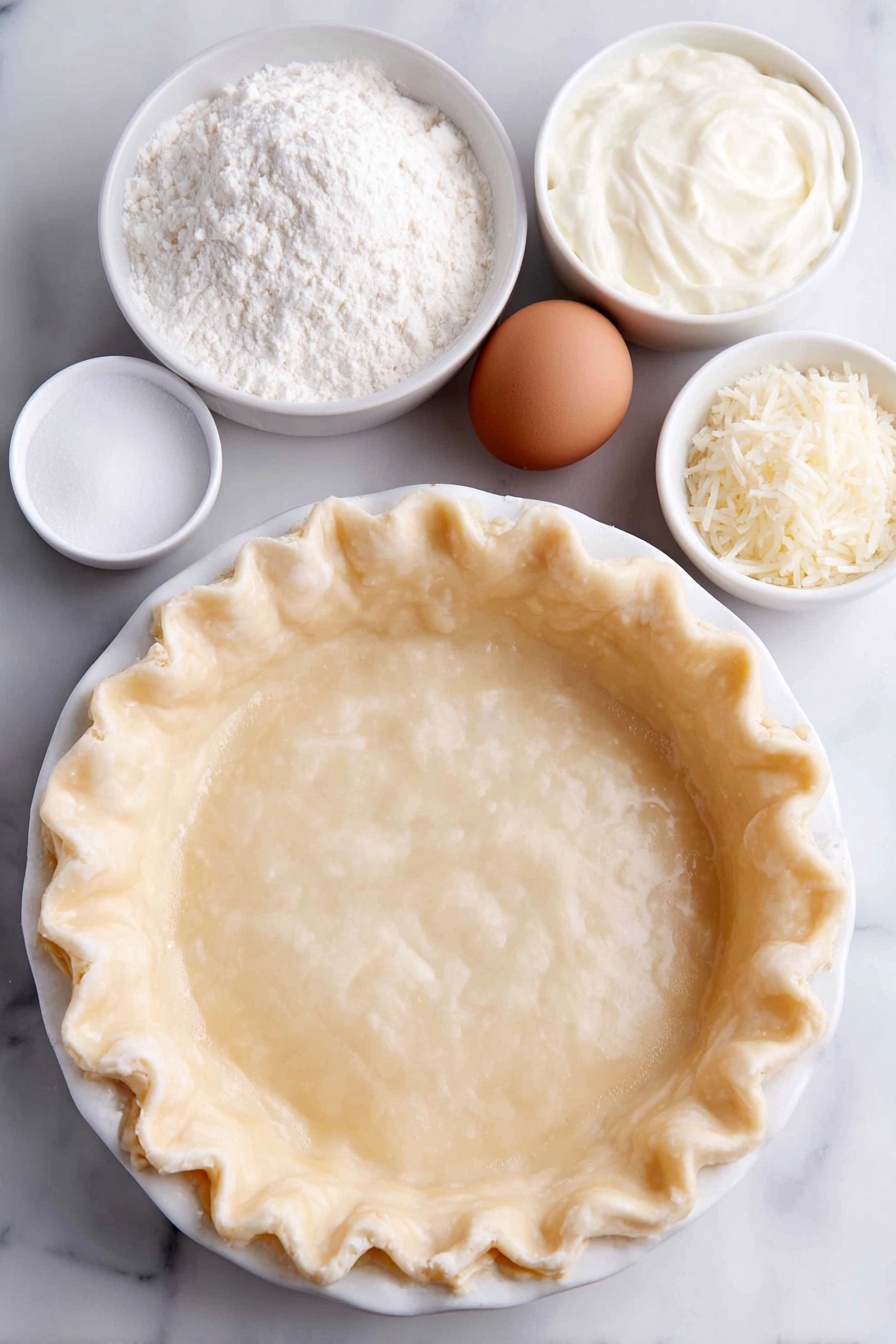
- Pie Crust: I prefer an unbaked flaky crust because it provides the perfect base that’s sturdy but tender once baked.
- Egg Yolks: The yolks give the custard its creamy texture and rich taste; I always separate carefully to avoid any white in the custard.
- Cornstarch: This acts as the thickener so your pie filling sets up nicely without needing gelatin or other additives.
- Full-fat Coconut Milk: Using canned full-fat coconut milk—not the carton kind used as a drink—gives that authentic creamy coconut flavor and texture.
- Half-and-Half: Half-and-half balances the richness of coconut milk, making the custard silky and smooth.
- Granulated Sugar: Sweetens the filling without overpowering the natural coconut taste.
- Salt: A pinch of salt enhances all the flavors, so don’t skip it!
- Sweetened Shredded Coconut: Adding shredded coconut into the filling gives delightful texture and bursts of flavor.
- Butter: Stirring in butter at the end adds a silky finish and gloss to the custard.
- Vanilla Extract: This rounds out the flavors beautifully; don’t substitute with imitation vanilla.
- Coconut Extract (Optional): Perfect if you want to amplify the coconut flavor even more.
- Heavy Cream: Essential for homemade whipped cream topping that’s fluffy and indulgent.
- Confectioners’ or Granulated Sugar for Whipped Cream: Both work fine; confectioners’ sugar tends to blend in more smoothly.
- Optional Coconut Garnishes: Unsweetened coconut shavings or toasted flakes add a pretty, crunchy finish on top.
Tweak to Your Taste
I love making this pie just as written, but sometimes I like to add a little personal flair or tailor it to my guests’ preferences. Don’t be shy—this recipe is really forgiving and you can easily adjust it to make it your own!
- Variation: I’ve tossed in a teaspoon of rum extract a few times and it gave a subtle boozy warmth that was fantastic for holiday dinners.
- Dairy-Free Option: Swap the half-and-half and heavy cream with full-fat canned coconut milk for a fully dairy-free pie. Just know the whipped topping will be different.
- Toasted Coconut: Try toasting the shredded coconut topping in a 300°F (149°C) oven for 6-8 minutes to add a nutty crunch that contrasts beautifully with the creamy filling.
- Make it Mini: You can use this filling in mini tart shells for adorable individual servings that are perfect for parties.
Step-by-Step: How I Make Homemade Coconut Cream Pie Recipe
Step 1: Prepare and Blind Bake Your Pie Crust
The first thing I do is make sure my pie crust is ready to go—either homemade or store-bought. I love making my dough a day ahead so it gets a good chill, which makes rolling easier. Once chilled, I roll it out, line my pie dish, and then line the dough with parchment paper and pie weights (or dried beans in a pinch). I bake it at 375°F (190°C) until the edges are golden and the bottom looks dry—usually around 20 minutes. This keeps the crust crisp and perfectly flaky, so it doesn’t get soggy when we add the custard later. After baking, I cool it completely before filling, sometimes up to a few days ahead, covering it tightly in the fridge.
Step 2: Whisk and Heat the Coconut Custard Base
Next, the custard! You whisk the egg yolks with cornstarch until smooth, and set that aside. Meanwhile, in a medium saucepan, mix the coconut milk, half-and-half, sugar, and salt. Warm it gently over medium heat, whisking occasionally until it comes to a boil. Boiling the mixture for 2 minutes is key—that’s what activates the starch so your custard sets perfectly.
Step 3: Temper the Egg Yolks and Thicken the Filling
This is the part that might make you nervous, but trust me—take it slow and you’ll be fine. When the coconut mixture is hot and boiling, scoop out about 1/2 cup and gradually whisk it into the egg yolks to warm them up (“tempering”), so they don’t scramble. Once combined, pour that egg yolk mixture back into the pot in a slow, steady stream while whisking continuously. The pudding will thicken almost immediately and bubble up, so stand back and stir briskly for about 90 seconds over medium-low heat until it’s thick and glossy.
Step 4: Stir in Coconut and Flavorings
Remove the pot from heat and stir in your shredded coconut, softened butter, vanilla extract, and if you’re feeling bold, a touch of coconut extract. This infusion of flavor and texture will become the heart of your pie filling. Pour the warm filling into the cooled pie crust, then press plastic wrap directly onto the surface to prevent a skin from forming. Refrigerate for at least 3 hours or overnight to let it firm up fully.
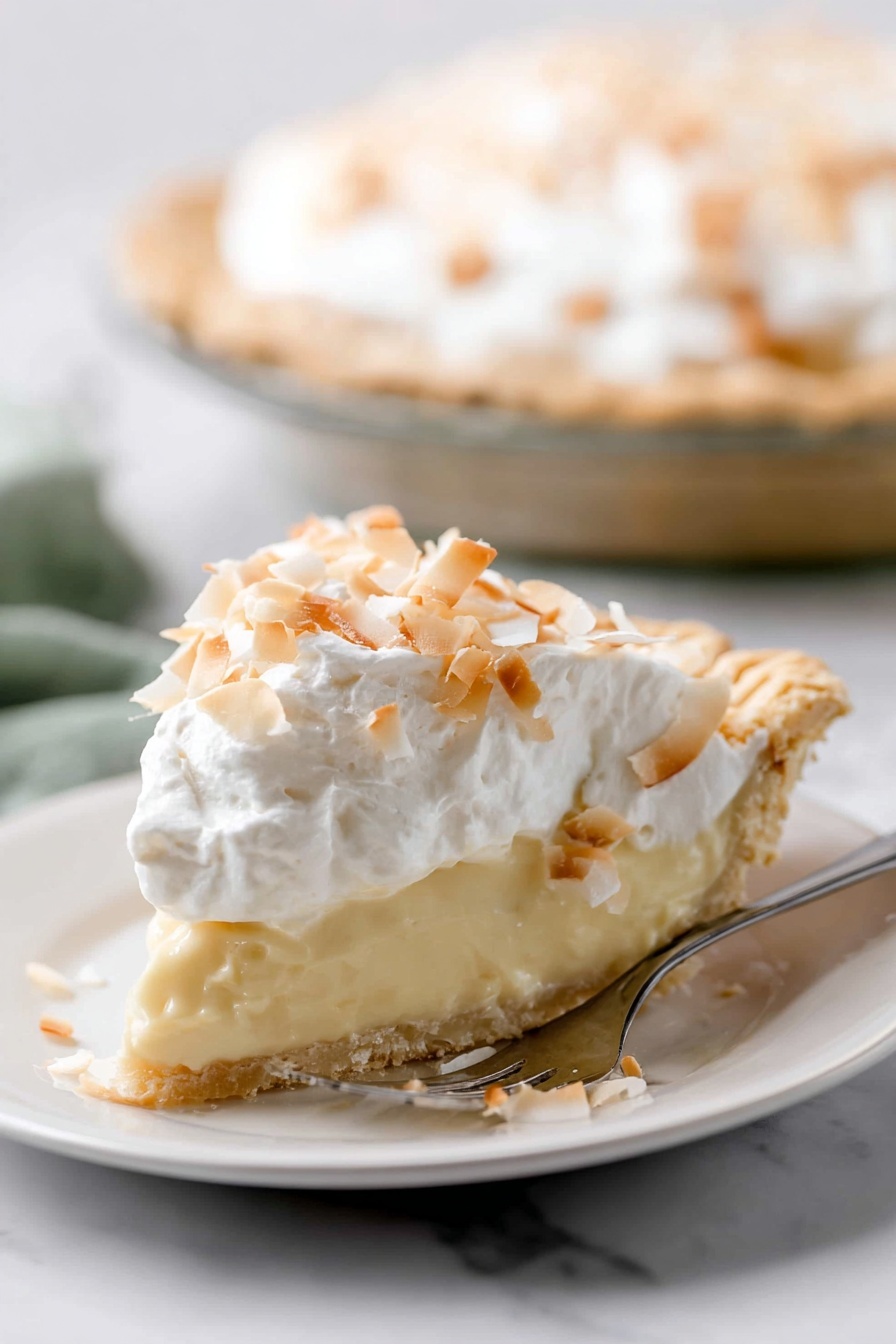
Step 5: Whip the Cream and Top Your Pie
Finally, whip your chilled heavy cream with sugar and vanilla until you get those perfect medium peaks that are soft but hold shape. I love piping mine on for a pretty finish using a star tip, but a simple spread works equally well. Sprinkle some toasted coconut flakes or shredded coconut on top for extra texture and wow factor. Serve immediately or refrigerate uncovered for a couple more hours.
Pro Tips for Making Homemade Coconut Cream Pie Recipe
- Chill Your Ingredients: Using cold heavy cream helps it whip up faster and hold shape better.
- Avoid Scrambled Eggs: Temper your yolks slowly with the hot mixture and keep whisking to prevent lumps.
- Cover Filling with Plastic Wrap: Press plastic wrap directly onto the custard’s surface to avoid an annoying skin during chilling.
- Use Full-Fat Coconut Milk: The richness is essential; no substitutions for that perfect creamy texture.
How to Serve Homemade Coconut Cream Pie Recipe
Garnishes
I always top my pie with freshly whipped cream and finish with either toasted unsweetened coconut flakes or sweetened shredded coconut for that beautiful contrast of textures. Sometimes I grab a few extra coconut chips if I want a dramatic look or sprinkle a tiny pinch of toasted coconut sugar on top for added crunch.
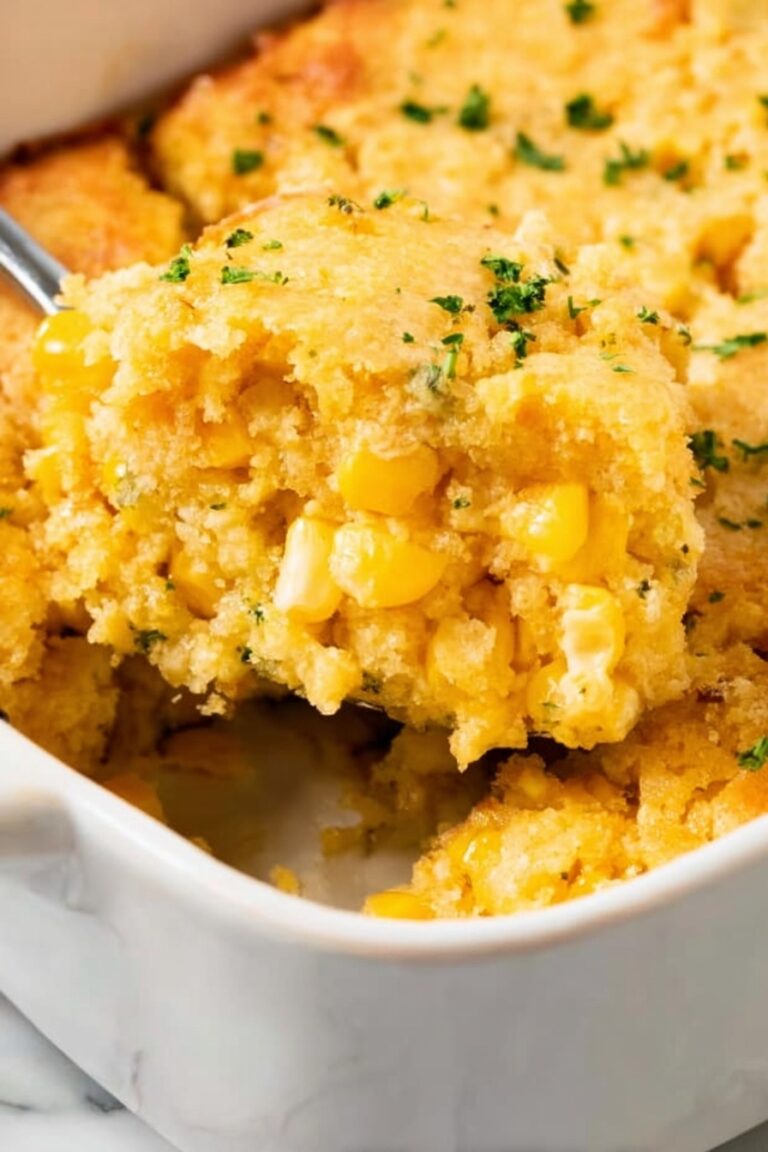
Side Dishes
Since this pie is rich and creamy, I like pairing it with light fresh fruit—think sliced mango, pineapple, or berries for a fresh tropical vibe. A cup of strong coffee or lightly brewed tea also works wonders to balance the sweetness.
Creative Ways to Present
For holidays or parties, I’ve served this pie in individual parfait glasses layered with whipped cream, toasted coconut, and fresh berries for an elegant twist. You can also pipe decorative rosettes or swirls of whipped cream and add edible flowers or a drizzle of toasted coconut caramel sauce to really wow your guests.
Make Ahead and Storage
Storing Leftovers
Leftover coconut cream pie keeps beautifully in the fridge, covered tightly with plastic wrap or a pie lid. In my experience, it stays fresh and delicious for up to 5 days, though it rarely lasts that long! Just be sure to keep it chilled until serving again.
Freezing
You can freeze your pie after the filling is set but before adding whipped cream. Make sure the pie is completely cool and covered tightly with plastic wrap plus foil to prevent freezer burn. I’ve frozen pies for up to 3 months and thawed them in the fridge overnight with great results. Just add fresh whipped cream after thawing.
Reheating
This pie is best served cold, but if you want to slightly warm a slice, gently microwave it in 15-second increments until just slightly warmed—avoid melting your whipped cream topping. I usually remove the whipped cream before warming and then reapply fresh cream for best results.
FAQs
-
Can I use coconut milk from a carton instead of canned coconut milk?
It’s really best to use canned full-fat coconut milk for this recipe. Carton coconut milk is much thinner and designed as a beverage, so it won’t provide the rich creamy texture needed for the custard.
-
How long does it take for the pie filling to set?
Once you pour the filling into the crust, it needs at least 3 hours in the refrigerator to chill and set properly, but overnight chilling is even better for the best texture.
-
Can I make this pie dairy-free?
Yes! Substitute the half-and-half with extra canned coconut milk and make a coconut cream whipped topping or a dairy-free alternative. Keep in mind the texture and flavor will be slightly different but still delicious.
-
Why do I need to press plastic wrap onto the custard?
Pressing plastic wrap directly onto the surface prevents a thick, rubbery skin from forming as it chills, keeping your pudding smooth and inviting.
-
How do I avoid my egg yolks scrambling during cooking?
Tempering is key: warm your egg yolks slowly by whisking in a small amount of the hot liquid before adding them back to the pot. Also, keep whisking continuously over medium-low heat to keep the custard smooth.
Final Thoughts
This Homemade Coconut Cream Pie Recipe has become a go-to for me whenever I want to impress but keep things simple. The homemade custard is head and shoulders above anything store-bought, and that rich coconut flavor just brings such joy to the table. Whether it’s a casual family dinner, a holiday feast, or just because, I hope you’ll give this recipe a try and fall in love with coconut cream pie like I did. It’s one of those comforting desserts that always puts a smile on my face, and I know you’ll enjoy it just as much.
Print
Homemade Coconut Cream Pie Recipe
- Prep Time: 6 hours
- Cook Time: 35 minutes
- Total Time: 6 hours 35 minutes
- Yield: 1 pie (9-inch)
- Category: Dessert
- Method: Baking
- Cuisine: American
- Diet: Vegetarian
Description
This homemade coconut cream pie features a flaky blind-baked pie crust filled with a rich and creamy coconut custard made from full-fat coconut milk, half-and-half, and egg yolks. Topped with fluffy whipped cream and garnished with shredded coconut, it’s a tropical dessert perfect for any occasion.
Ingredients
Pie Crust
- 1 unbaked flaky pie crust or all butter pie crust (for one 9-inch pie)
Coconut Filling
- 4 large egg yolks
- 1/4 cup (30g) cornstarch
- 1 (14 ounce) can full fat coconut milk (unsweetened)
- 1 cup (240ml) half-and-half
- 2/3 cup (130g) granulated sugar
- 1/4 teaspoon salt
- 1 cup (80g) sweetened shredded coconut
- 2 tablespoons (28g) unsalted butter, softened to room temperature
- 1 teaspoon pure vanilla extract
- Optional: 1/2 teaspoon coconut extract
Whipped Cream Topping
- 1 and 1/2 cups (360ml) cold heavy cream or heavy whipping cream
- 3 tablespoons (20g) confectioners’ sugar or granulated sugar
- 3/4 teaspoon pure vanilla extract
- Optional for garnish: unsweetened coconut shavings, coconut chips, or sweetened shredded coconut
Instructions
- Prepare Pie Crust: If using homemade dough, chill it in the refrigerator for at least 2 hours or overnight. Preheat oven to 375°F (190°C). Blind bake the pie crust fully by lining it with parchment paper and filling with pie weights or dried beans. Crimp or flute the edges, then bake until set and lightly golden. Cool completely before filling; can be refrigerated up to 3 days.
- Make Coconut Filling Base: In a medium bowl, whisk together egg yolks and cornstarch until smooth. In a medium saucepan, combine coconut milk, half-and-half, granulated sugar, and salt over medium heat. Whisk occasionally and bring mixture to a boil, then boil for 2 minutes.
- Temper Egg Yolks: Remove about 1/2 cup of the hot coconut mixture and slowly whisk it into the egg yolk and cornstarch mixture to prevent scrambling. Then pour the tempered egg yolk mixture slowly back into the saucepan while whisking constantly.
- Thicken the Custard: Continue whisking as the mixture bubbles and thickens. Cook for 1 minute and 30 seconds more after it begins to bubble. Remove from heat promptly to avoid overcooking.
- Finish Filling: Stir in shredded coconut, softened butter, vanilla extract, and optional coconut extract until smooth. Pour the warm coconut custard filling into the cooled pie crust. Cover the filling directly with plastic wrap to prevent a skin from forming. Refrigerate for at least 3 hours or overnight until completely chilled and set.
- Make Whipped Cream: Using a hand mixer or stand mixer with whisk attachment, whip cold heavy cream, sugar, and vanilla extract on medium-high speed until medium peaks form, about 3 to 4 minutes. Medium peaks hold shape but are not stiff.
- Assemble and Serve: Spread or pipe the whipped cream evenly over the chilled coconut filling. Garnish with your choice of coconut flakes, shavings, or chips. Serve immediately or chill uncovered for a few hours. Cover and refrigerate leftovers for up to 5 days.
Notes
- Pie dough can be made ahead and refrigerated for up to 5 days or frozen for up to 3 months.
- Freezing is possible after filling step once cooled; cover well with plastic wrap and freeze for up to 3 months. Thaw before adding whipped cream.
- Use canned full-fat unsweetened coconut milk, not carton beverage coconut milk.
- You can substitute confectioners’ sugar or granulated sugar in whipped cream according to preference.
- Toast coconut topping in a 300°F (149°C) oven for 6-8 minutes if desired for added flavor and texture.
- Only one pie crust is needed; if making homemade dough, freeze the second crust for future use.
- Ensure the pie crust is fully cooled before adding filling to prevent sogginess.
Nutrition
- Serving Size: 1 slice (1/8 of pie)
- Calories: 350 kcal
- Sugar: 25 g
- Sodium: 150 mg
- Fat: 22 g
- Saturated Fat: 15 g
- Unsaturated Fat: 6 g
- Trans Fat: 0 g
- Carbohydrates: 32 g
- Fiber: 2 g
- Protein: 4 g
- Cholesterol: 120 mg


