
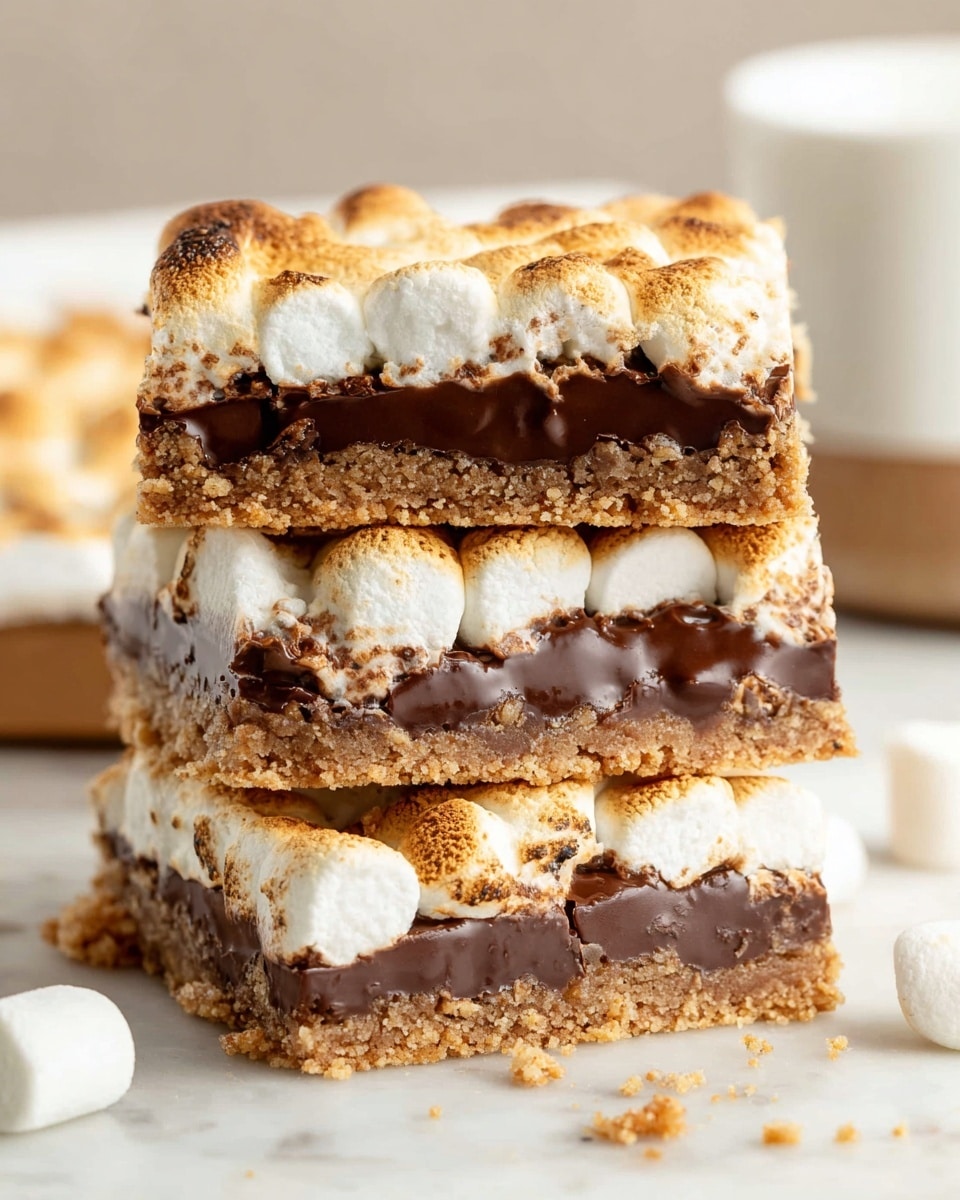
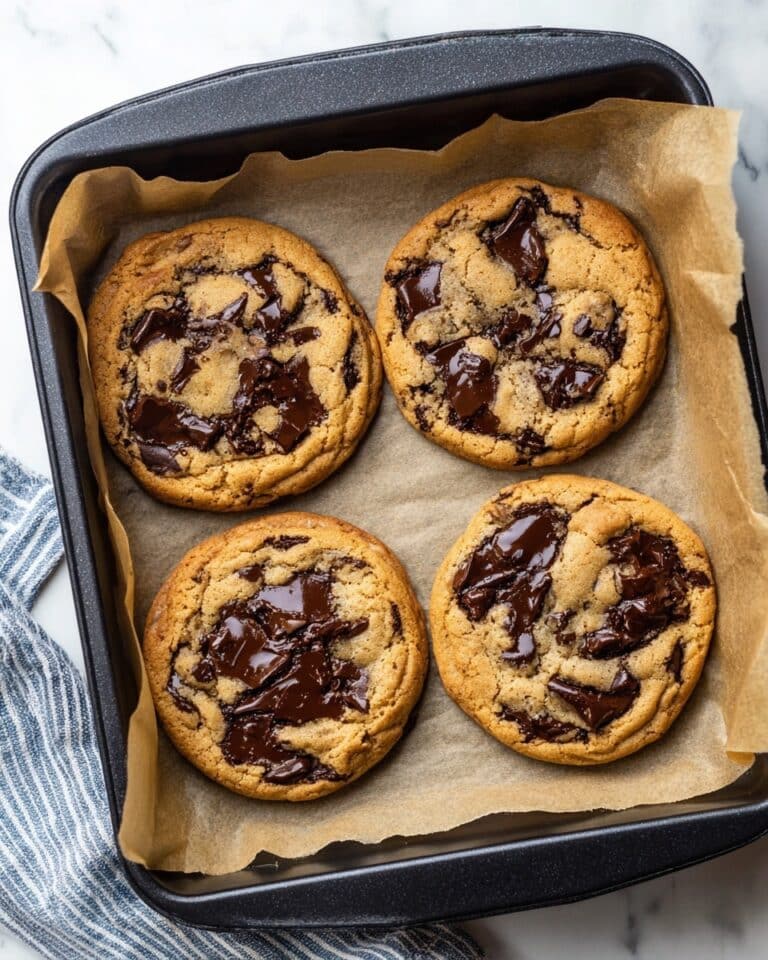
S’mores Bars Recipe
Oh, you’re going to love this S’mores Bars Recipe! It’s like capturing the magic of a campfire s’more but in an easy-to-make, handheld bar that works perfectly for any occasion—whether you’re bringing a dessert to a picnic or craving a nostalgic treat after dinner. The combination of a buttery graham cracker crust, melty chocolate, and those toasty marshmallows just hits every sweet spot, and trust me, it’s a crowd-pleaser every time.
I’ve made these bars countless times, and what I adore is how effortless they are without skimping on that gooey, crunchy goodness we all crave in a s’more. Plus, they’re great for kids’ parties, casual get-togethers, or even as a sweet pick-me-up on a cozy night in. Once you try this S’mores Bars Recipe, you’ll find yourself reaching for it again and again.
Why This Recipe Works
- Simple Ingredients: Uses pantry staples that come together quickly without fuss.
- Perfect Texture Balance: Crunchy crust meets smooth melted chocolate and gooey marshmallows.
- Easy to Customize: You can tweak it with different chocolates or marshmallows to suit your taste.
- Quick Bake Time: Ready to enjoy in under half an hour, ideal for spontaneous cravings or last-minute guests.

Ingredients & Why They Work
These ingredients form the classic base of s’mores, but in bar form! Each component plays a role in delivering those iconic flavors and textures. When shopping, I recommend going for good quality chocolate bars and fresh mini marshmallows for the best melt and flavor.
- Graham Cracker Crumbs: Provides the signature crunchy base and that toasty, slightly sweet flavor essential to s’mores.
- Butter (melted): Binds the crust ingredients together and adds richness—it’s what makes the crust crisp up nicely when baked.
- Powdered Sugar: Sweetens the crust just enough while keeping it tender and crumbly.
- Hershey Chocolate Bars: Classic milk chocolate melts beautifully to form that luscious layer we all love.
- Mini Marshmallows: These melt and toast quickly under the broiler, creating that perfectly gooey topping.
Tweak to Your Taste
I love how this S’mores Bars Recipe invites creativity! Whether you like your chocolate dark or prefer tossing in some peanut butter for a salty-sweet combo, these bars adapt easily without losing their charm. Feel free to make it your own.
- Swap Chocolate Varieties: I once used dark chocolate for a more sophisticated taste—delicious if you want less sweetness.
- Add Nuts or Coconut: For some crunch and extra texture, chopping walnuts or sprinkling shredded coconut on top before broiling can be a game-changer.
- Use Flavored Marshmallows: I tried cinnamon-flavored marshmallows over the holidays and it added a cozy twist.
- Make It Gluten-Free: Using gluten-free graham cracker crumbs lets you enjoy these as a treat even if you avoid gluten.
Step-by-Step: How I Make S’mores Bars Recipe
Step 1: Prep and Make That Perfect Crust
First things first, preheat your oven to 350°F and grease a 9×13-inch pan with non-stick spray. Mix the graham cracker crumbs, powdered sugar, and melted butter in a bowl until everything is evenly combined. This is the moment where you want the crumbs to feel like wet sand; not too dry but not soupy either. Press that mixture firmly into the bottom of your pan and slightly up the sides. The pressure here matters—firm compression means a crisp crust that won’t crumble when you slice later. Bake it for about 5-8 minutes until the edges turn lightly golden. This quick bake sets the crust so it will hold its shape once the bars are complete.
Step 2: Add the Chocolate Layer
Once the crust cools a bit, lay your Hershey bars over it, covering the crust as evenly as you can. Don’t be shy—overlapping is fine to make sure every bite gets that chocolate goodness. Pop it back in the oven for just 3 minutes or until the chocolate starts melting and looks glossy. Keep an eye here; you want melted smooth chocolate, not burnt edges.
Step 3: Toast Those Marshmallows to Perfection
Now spread the mini marshmallows tightly over the melting chocolate—you want them snug so that toasting is even. Switch your oven to broil and place the pan inside. Here’s the crucial part: watch your s’mores bars like a hawk! Broiling takes only about 2 minutes, and those marshmallows can jump from golden brown to black in seconds. Once they start turning caramel-colored on top, take the pan out immediately to avoid any fiery mishaps (true story—I learned this the hard way).
Step 4: Cool and Cut With Ease
Let your bars cool down completely—this is key to keeping them intact when slicing. I usually pop mine into the fridge after they’ve cooled at room temp; it firms them up beautifully. When it’s time to cut, here’s a neat trick: warm a sharp knife under hot water, dry it, and slice. The warm blade glides through gooey marshmallows and chocolate much easier and helps avoid those sticky, messy cuts. You might need to rewarm the knife frequently if you’re cutting a big batch.
Pro Tips for Making S’mores Bars Recipe
- Use Room Temperature Butter: I’ve found that melted butter that’s too hot can make the crust greasy, so let it cool a bit before mixing.
- Don’t Skip the Broiler Watch: Seriously, broiler times vary wildly—stay close so you don’t end up with marshmallow ashes.
- Press the Crust Firmly: Gives structure so your bars don’t crumble when sliced, especially after chilling.
- Cut with a Warm Knife: This was a game-changer for me—smooth cuts make serving a breeze and keep things neat.
How to Serve S’mores Bars Recipe
Garnishes
I like to sprinkle a little flaky sea salt on top right after broiling the marshmallows—it balances the sweetness and adds a subtle crunch. Sometimes, I also dust a bit of cinnamon or cocoa powder over the bars for extra flavor depth. Little touches make these bars feel special, especially when serving guests.
Side Dishes
If you’re serving these at a party, pairing them with a scoop of vanilla ice cream or fresh berries really brightens things up. For drinks, a glass of cold milk or a coffee with a hint of caramel syrup complements the bars perfectly.
Creative Ways to Present
One of my favorite presentations is layering these bars in small mason jars for parties—they’re like portable desserts! For holiday gatherings, arranging them on a pretty platter with crushed peppermint or colored sprinkles adds festive flair. I’ve also wrapped individual squares in parchment paper tied with twine for cute giftable treats.
Make Ahead and Storage
Storing Leftovers
Store leftover s’mores bars in an airtight container at room temperature if you plan to eat them within a day or two. I usually keep mine chilled because I love how the chocolate firms up—it also helps maintain their shape when stacking.
Freezing
I’ve frozen these bars wrapped tightly in plastic wrap and then placed in a freezer-safe bag. They freeze quite well! When you’re ready to enjoy, just let them thaw in the fridge overnight to keep the texture soft without melting the chocolate and marshmallow too much.
Reheating
If you want that melty fresh-out-of-the-oven feel again, pop individual bars in the microwave for 10-15 seconds. Watch carefully so the marshmallows don’t puff up too much or burn. Alternatively, a quick low-temp warmup in the oven (about 300°F for 5 minutes) refreshes the gooey texture nicely.
FAQs
-
Can I use different types of chocolate for the S’mores Bars Recipe?
Absolutely! While classic milk chocolate bars give that traditional flavor, you can swap in dark chocolate, white chocolate, or even chocolate with nuts or caramel. Just keep in mind that melt times and sweetness levels may shift slightly, so watch carefully during the melting step.
-
What’s the best way to prevent marshmallows from burning during broiling?
The key is to keep a very close eye on the marshmallows while broiling—don’t walk away for even a minute. Marshmallows brown very quickly and can go from perfect to burnt in seconds. Using the oven light and standing right in front makes it easier to catch the perfect golden color.
-
Can I make these bars gluten-free?
Yes! Substituting gluten-free graham cracker crumbs will work perfectly without compromising texture or flavor, so these bars can be enjoyed by those avoiding gluten.
-
How do I cut the bars cleanly without sticking?
Warming your knife under hot water, drying it off, and slicing right away cuts through the gooey marshmallows and chocolate like a dream. You may need to rewarm the knife between cuts if it starts to get sticky.
Final Thoughts
This S’mores Bars Recipe holds a special place in my heart—it’s that nostalgic flavor wrapped into an easy, shareable dessert that suits so many occasions. Whether you’re making it for friends, family, or just treating yourself, these bars are sure to bring smiles and maybe even a little campfire magic into your kitchen. Give it a try, and I bet you’ll find yourself reaching for this recipe whenever you want a warm, comforting sweet treat!
Print
S’mores Bars Recipe
- Prep Time: 10 minutes
- Cook Time: 15 minutes
- Total Time: 25 minutes
- Yield: 16 servings
- Category: Dessert
- Method: Baking
- Cuisine: American
Description
Delicious and easy-to-make S’mores Bars featuring a crispy graham cracker crust, melted Hershey chocolate bars, and toasted mini marshmallows, perfect for satisfying your sweet tooth with a classic campfire treat in bar form.
Ingredients
Crust
- 2 cups graham cracker crumbs
- 12 tablespoons butter melted
- 1/2 cup powdered sugar
Topping
- 4 Hershey chocolate bars (4.4 ounce bars each)
- 1 package mini marshmallows
Instructions
- Preheat the oven: Set your oven to 350 degrees Fahrenheit to prepare it for baking the crust.
- Prepare the baking pan: Grease a 9×13 inch baking pan thoroughly with non-stick butter spray to prevent sticking.
- Make the crust mixture: In a medium bowl, combine graham cracker crumbs, powdered sugar, and melted butter. Mix well with a spoon until evenly combined.
- Form the crust: Evenly distribute the crust mixture along the bottom and sides of the prepared pan. Press it down firmly with your fingers to pack it tightly.
- Bake the crust: Bake the crust in the preheated oven for 8 minutes or until the edges start to turn golden brown. Remove and allow it to cool, during which it will harden further.
- Add chocolate layer: Arrange the Hershey chocolate bars over the cooled crust, covering it completely as much as possible.
- Melt the chocolate: Return the pan to the oven for 3 minutes, or until the chocolate just begins to melt and turns shiny. Remove from oven and let cool for 1 to 2 minutes.
- Add marshmallows: Evenly place mini marshmallows on top of the melted chocolate, packing them closely together.
- Broil the marshmallows: Turn the oven setting to broil. Place the pan in the oven under the broiler, watching closely. Only broil for about 2 minutes until marshmallows start to brown—watch carefully to prevent burning or catching fire.
- Cool and set: Remove from oven and let cool completely. For easier cutting, refrigerate the bars to set further.
- Cut and serve: To cut cleanly, warm a sharp knife under hot water, dry it, then slice the bars. Repeat if the knife becomes sticky. Serve and enjoy.
Notes
- Use the higher amount of melted butter (12 tablespoons) for a firmer crust that holds together well.
- Watch the marshmallows closely while broiling to prevent burning or catching fire.
- Refrigerate the bars after cooling to make cutting easier and cleaner.
- Use a warm, dry knife to slice through the sticky bars cleanly; rinse and warm the knife again if needed.
- You can substitute Hershey bars with any milk chocolate bar of similar size if preferred.
Nutrition
- Serving Size: 1 bar
- Calories: 250 kcal
- Sugar: 18 g
- Sodium: 120 mg
- Fat: 15 g
- Saturated Fat: 7 g
- Unsaturated Fat: 6 g
- Trans Fat: 0 g
- Carbohydrates: 28 g
- Fiber: 1 g
- Protein: 3 g
- Cholesterol: 30 mg


