
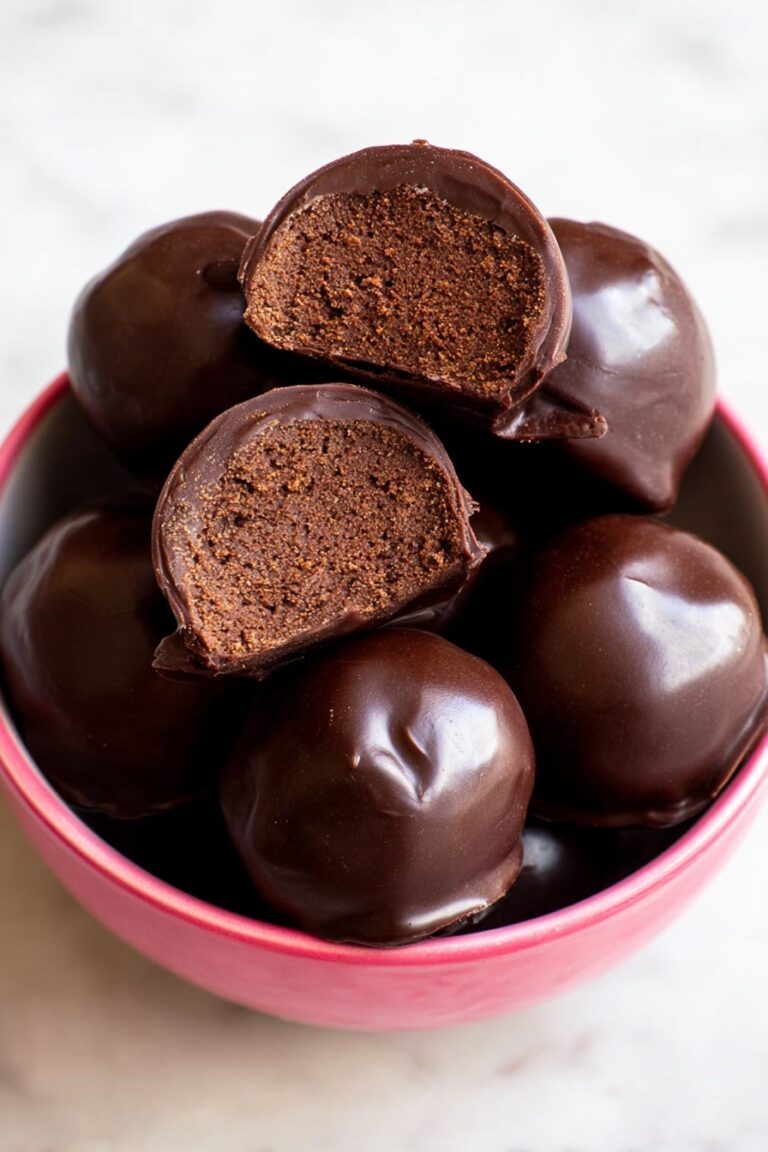
4th of July Cake Balls Recipe
If you’re looking for a fun, festive, and utterly delicious way to celebrate the holiday, you’ve got to try my 4th of July Cake Balls Recipe. These little bursts of flavor are perfect for sharing at picnics, barbecues, or just snacking on while watching the fireworks. The best part? They combine the classic flavors of vanilla cake and cream cheese with patriotic red, white, and blue colors that make them as eye-catching as they are tasty. Stick with me here, and I’ll walk you through every step so you can impress your friends and family with these festive treats!
Why This Recipe Works
- Eye-Popping Patriotic Colors: Using separate red, blue, and white cake layers means vibrant, distinct colors that bring that 4th of July spirit to life.
- Creamy Texture: Cream cheese mixed into the crumbled cake keeps the balls moist and gives them a luscious, rich bite.
- Easy Assembly: No fancy baking skills required—just simple steps that lead to impressive results everyone will love.
- Fun to Decorate: Dipping in vanilla melts and the sprinkle topping make these cake balls festive and perfect for any celebration.

Ingredients & Why They Work
Each ingredient plays its role in making these cake balls stand out — from creating vibrant layers to achieving a texture that’s moist enough to hold but firm enough to dip.
- White cake mix: It’s your base—a simple and quick way to get a fluffy, flavorful cake that colors well without turning muddy.
- Red and blue food coloring: Essential for that patriotic pop, just a few drops at a time help you get the perfect hue.
- Cream cheese: Adds rich creaminess and moisture; I always soften it to room temperature for smooth mixing.
- Vanilla melting wafers: Smooth coating that melts nicely and hardens with a glossy finish—better than plain chocolate for vibrant decorating.
- Red & blue candy melts: Great for accent colors or touch-up details, plus they melt easily without scorching.
- Red, white, and blue sprinkles: The final festive touch—these make the cake balls truly party-ready and add a fun crunch.
Tweak to Your Taste
I love how adaptable the 4th of July Cake Balls Recipe is—you can easily tweak colors, add different sprinkles, or even swap vanilla for another cake mix flavor to suit your style or dietary needs.
- Gluten-Free Variation: I once swapped white cake mix for a gluten-free version and still got a fantastic result—just keep an eye on baking times!
- Flavor Twist: Try using lemon or almond extract in the cream cheese frosting for an extra layer of flavor that surprises guests.
- Color Play: Sometimes I make extra colors for smaller patriotic holidays or mix in silver sprinkles for a festive sparkle.
Step-by-Step: How I Make 4th of July Cake Balls Recipe
Step 1: Prep & Bake The Colorful Cakes
Begin by preheating your oven to 350°F and greasing three 8×8 pans. Mix up your white cake batter according to box instructions, then split it evenly into three bowls. Leave one plain, then drop red food coloring into the second, and blue into the third, adding gradually until you hit a vibrant color. Use separate spoons for each color to avoid mixing them up. Pour each batter into its pan and bake for around 14-16 minutes. You’ll know they’re done when a toothpick comes out clean and the tops spring back to the touch. Let the cakes cool completely before moving on—this ensures the texture is perfect for crumbling.
Step 2: Mix Cream Cheese Into Crumbled Cake
Once cooled, crumble each cake into separate bowls. Beat your softened cream cheese until smooth, then divide it evenly among the bowls, mixing until the cake crumbs absorb all that creamy goodness. Whether you use a hand mixer or a spatula by hand, just make sure everything looks well incorporated and moist but not too sticky. Don’t forget to clean your tools between colors to keep those patriotic layers distinct.
Step 3: Roll Tri-Color Cake Balls
Now, take small chunks—about an inch—from each of the colored cake mixtures and gently roll them together in your palms to form striped balls. Don’t press too hard or you’ll lose those beautiful color streaks. Set them carefully on parchment-lined trays, and once all are rolled, pop them in the fridge for 1 to 2 hours. This chilling step is my secret to getting perfectly firm cake balls that won’t fall apart when dipped.
Step 4: Dip and Decorate
While the cake balls chill, melt your white melting wafers gently—either in a double boiler or microwave on a low setting. It’s important to stir every 30 seconds to avoid heating too fast or scorching. Next, take one cake ball at a time on a fork, dip it in the smooth coating, and tap off any excess. Before the coating sets, sprinkle on your red, white, and blue sprinkles for that real festive vibe. Place the dipped balls back on the trays and refrigerate for another 15 minutes to harden the coating perfectly.
Pro Tips for Making 4th of July Cake Balls Recipe
- Don’t Skip Chilling: Refrigeration after rolling solidifies the cake balls, so they dip cleanly without breaking or melting.
- Use Separate Utensils: To keep your patriotic colors sharp, always mix and handle each color with its own spoon or mixer attachments.
- Low Heat Melting: Melting wafers on low heat and stirring frequently prevents clumps and keeps your coating silky smooth.
- Sprinkle Timing: Add sprinkles right after dipping before your coating sets, or they won’t stick well and fall off later.
How to Serve 4th of July Cake Balls Recipe

Garnishes
I love topping these cake balls with a generous mix of patriotic sprinkles—stars, sugar crystals, and nonpareils in red, white, and blue. Sometimes I add a touch of edible glitter for an extra sparkle under party lights, which always gets compliments! If you want to get fancy, a tiny swirl of colored candy melts drizzled on top adds a lovely contrast.
Side Dishes
These cake balls pair beautifully with classic summer fare like grilled hot dogs, corn on the cob, and fruit salads. They’re also a great sweet finish after a spicy barbecue or alongside a chilled lemonade or iced tea.
Creative Ways to Present
For a truly festive presentation, arrange the cake balls on a tiered tray or skewer them on sticks decorated with miniature American flags. I’ve also seen them displayed in clear jars filled with red, white, and blue candies for an eye-catching dessert table centerpiece at 4th of July parties.
Make Ahead and Storage
Storing Leftovers
After your festivities, store leftover cake balls in an airtight container in the fridge. From my experience, they stay fresh and moist for up to 5 days without losing their charm.
Freezing
If you want to prep ahead or save some for later, freezing works like a charm. I wrap the cake balls individually in plastic wrap, then place them in a sealed freezer bag. When you’re ready, just thaw in the refrigerator overnight.
Reheating
Cake balls don’t require traditional reheating, but letting them sit at room temperature for about 15-20 minutes after fridge or freezer storage brings back that soft, creamy texture and brightens the flavor.
FAQs
-
Can I use a homemade cake instead of a box mix for the 4th of July Cake Balls Recipe?
Absolutely! Homemade cakes work wonderfully and give you full control over flavors and ingredients. Just make sure your cake is fully cooled and not too moist, so the texture holds well when mixing with cream cheese.
-
What’s the best way to keep the colors vibrant in the cake balls?
Using gel food coloring rather than liquid helps get rich, vibrant colors without thinning the batter. And mixing each color separately helps prevent the shades from blending.
-
Can I make these cake balls ahead of time?
Yes! They’re perfect make-ahead treats. Chill them overnight or even freeze them as described above. They hold up well and taste fresh once served.
-
What if my cake balls are too soft to dip?
This usually means they need more chilling. Pop the mixture or rolled balls in the fridge for at least an hour before dipping to firm them up and prevent crumbling.
Final Thoughts
Honestly, making these 4th of July Cake Balls always brings me joy—not just because of how good they taste, but because they turn any celebration into something special and memorable. The bright colors, creamy texture, and ease of sharing make them my go-to summer treat. I can’t wait for you to try this recipe in your own kitchen; it’s really a crowd-pleaser that’ll have everyone asking for seconds. So go ahead, give it a go, and let these festive cake balls add some sweet sparkle to your holiday festivities!
Print
4th of July Cake Balls Recipe
- Prep Time: 1 hour
- Cook Time: 16 minutes
- Total Time: 3 hours
- Yield: 30 cake balls
- Category: Dessert
- Method: Baking
- Cuisine: American
- Diet: Vegetarian
Description
Celebrate the 4th of July with colorful and festive cake balls made from white cake mix, cream cheese, and vibrant red, white, and blue candy coatings. These bite-sized treats are perfect for parties and easy to customize with sprinkles for a patriotic touch.
Ingredients
Cake Batter
- 15.25 ounce white cake mix (plus ingredients required on box to make batter)
- Red food coloring
- Blue food coloring
Cake Ball Mixture
- 8 ounce block cream cheese, softened to room temperature
Coating and Decoration
- 10 ounce bag Ghirardelli vanilla melting wafers
- ½ cup red candy melts
- ½ cup blue candy melts
- Red, white, and blue sprinkles
Instructions
- Preheat and prepare pans: Preheat the oven to 350°F or follow package instructions. Lightly grease 3 small baking pans (8×8 inch recommended) and set aside.
- Make cake batter: In a large bowl, combine the cake mix and required ingredients from the box. Whisk until smooth batter forms.
- Color the batter: Divide the batter into three bowls. Leave one plain, add red food coloring drop by drop to the second bowl until desired shade is reached, and do the same with blue food coloring for the third bowl. Use separate spoons for each bowl.
- Bake the cakes: Pour each colored batter into its own greased pan. Bake for 16 minutes or until a toothpick inserted in the center comes out clean and cake tops look set.
- Cool and crumble: Remove pans and cool cakes completely on wire racks. Once cooled, crumble each cake into small pieces in separate bowls.
- Mix with cream cheese: Beat the softened cream cheese with a hand mixer on medium-high speed until creamy. Divide cream cheese evenly among the three bowls of crumbled cake. Mix each until fully incorporated, using the mixer on low or a spatula. Clean the mixer or spatula between bowls.
- Form cake balls: Line two baking trays with parchment paper. Take 1-inch chunks from each colored cake mixture and roll them together by hand into balls. Place on prepared trays.
- Chill the cake balls: Refrigerate the trays for 1-2 hours to firm up the cake balls for dipping.
- Melt coatings: Using a double boiler on low heat or a microwave on low/defrost, melt the white melting wafers until smooth, stirring every 30 seconds.
- Dip cake balls: Using a fork, dip each cake ball into the melted coating, tapping to remove excess and thin the coating. Place dipped balls back on trays immediately and top with red, white, and blue sprinkles.
- Set the coating: Return trays to the refrigerator for 15 minutes to allow coating to fully set.
- Serve and store: Keep cake balls refrigerated until serving. Enjoy your festive 4th of July treat!
Notes
- Refrigerate leftovers in an airtight container for up to 5 days.
- Softened cream cheese is key for smooth mixing with cake crumbs.
- Use separate spoons for food coloring to avoid color contamination.
- Chilling the cake balls before dipping helps them hold their shape during coating.
- To melt candy coating, stir frequently to prevent burning and ensure smooth texture.
- Sprinkles add a festive finishing touch but can be omitted or substituted based on preference.
Nutrition
- Serving Size: 1 cake ball
- Calories: 150 kcal
- Sugar: 12 g
- Sodium: 110 mg
- Fat: 8 g
- Saturated Fat: 5 g
- Unsaturated Fat: 2 g
- Trans Fat: 0 g
- Carbohydrates: 18 g
- Fiber: 0.5 g
- Protein: 2 g
- Cholesterol: 25 mg

